CalDAV and CardDAV for macOS and iOS
You can sync your address book and calendars with your mobile device using ActiveSync or using CalDAV and CardDAV. Here we describe the process of syncing your information with CalDAV and CardDAV.
Setting up access on iOS
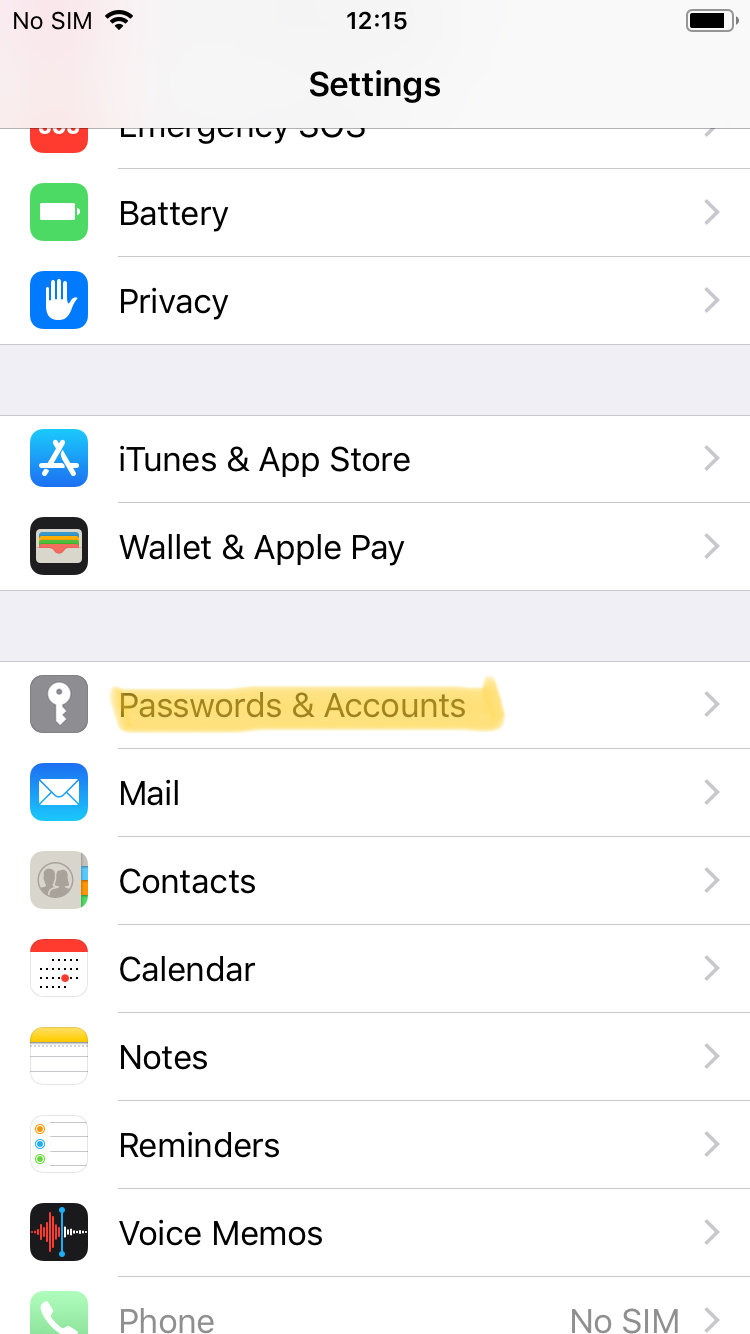
Open the Settings of your iOS device, go to Calendar | Accounts and select ‘Add Account’.
macOS users find these options here: "System Settings -| Internet-Accounts"
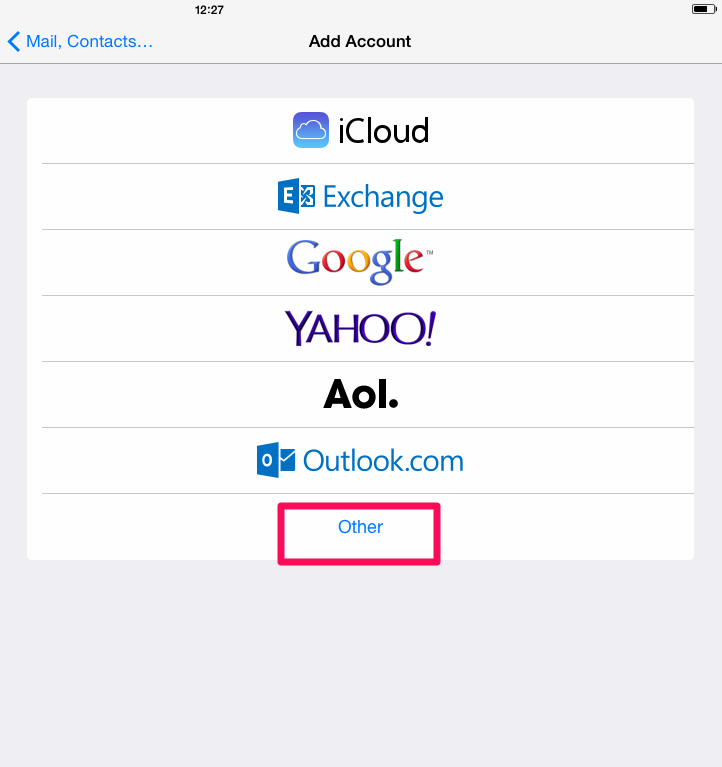
- Select the category ‘Other’.


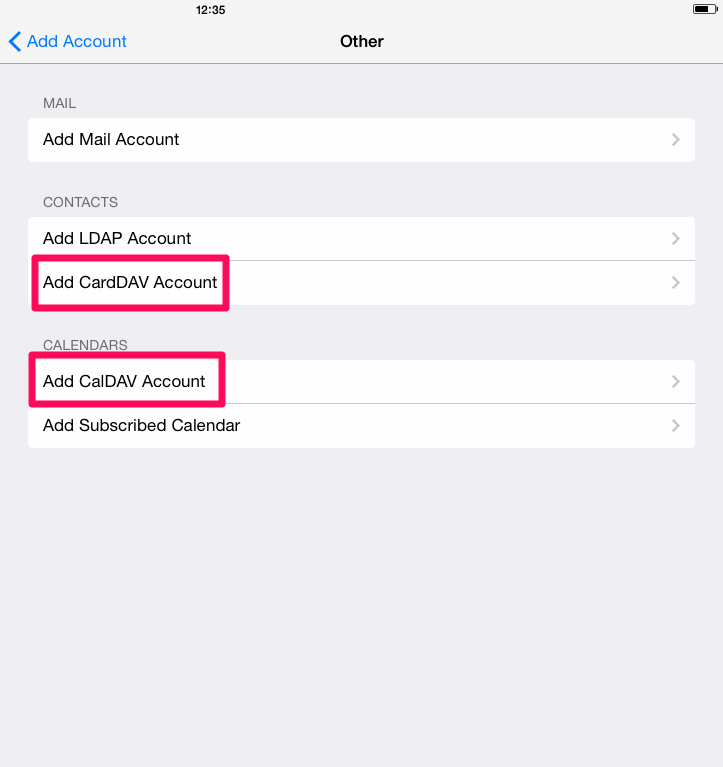
- In the next window, select Add CalDAV Account or Add CardDAV account.

- In the next window, enter the access information for your mailbox.org calendar or your address book:
- Server: https://dav.mailbox.org:443
- User name: Your login name (f.e. john.doe@mailbox.org)
- Password: Your password

- Confirm your entries. Your calendar, events and/or your address book should now be synchronized.
You can now access your mailbox.org calendar and/or your address book using the calendar app or the contacts app.

Setting up access on OS X
-
Open “System Preferences” | “Internet Accounts”
-
Click “Add Other Account…”
-
Click “CardDAV account”
-
Select “Manual” for “Account Type”
-
Enter primary e-mail address and password
-
Enter “https://dav.mailbox.org:443” for “Server Address”
-
Click “Sign In”
Default folder under iOS
We have more information about the synchronization of contacts under iOS:
From mailbox.org-Office to your iOS device, synchronization works across all folders if the corresponding "Groups" are enabled under iOS "Contacts".
If you want to synchronize from your iOS device to mailbox.org-Office, this is only possible via the default folder "Contacts". These are system restrictions on the part of Apple, over which we have no influence.