CalDAV - CardDAV for Outlook and Thunderbird – CalDav Synchronizer
Once you have enabled two-factor authentication, external applications such as Outlook, Thunderbird, DAVx⁵, or mobile calendar and contact apps can no longer access mailbox using your regular password.
To do so, you need to create an application password. Without enabled two-factor authentication (2FA), the use of application passwords is optional.
Outlook: CalDav Synchronizer
In addition to ActiveSync, you can also use the free Outlook plugin CalDav Synchronizer to connect Outlook with mailbox.
You can download it here: https://caldavsynchronizer.org/de/download/
After installation, you’ll find a new tab in Outlook: "CalDav Synchronizer"

Figure 1: The CalDav Synchronizer for Outlook.
Click on "+" at the top left (Figure 2) to define new profiles for calendars, tasks, and address books.
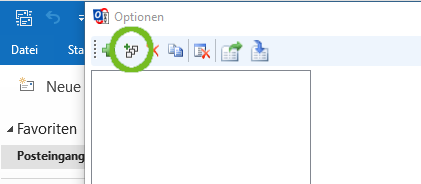
Figure 2: Click on to add a new profile..
Select the mailbox entry and click "OK".
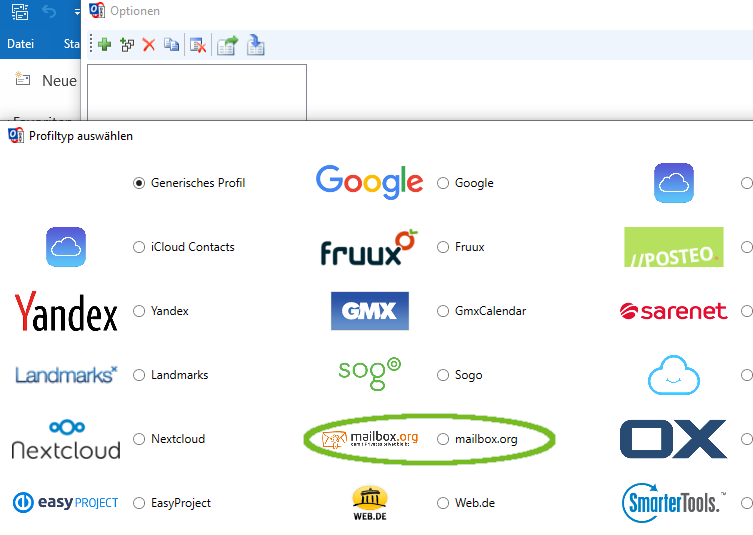
Figure 3: mailbox is preconfigured and part of the standard selection.
Connect Resources
- Enter your main email address as the username and provide your password.
- Click "Load IMAP/POP3 Account Settings".
- Click "Get IMAP/POP3 Account Settings".
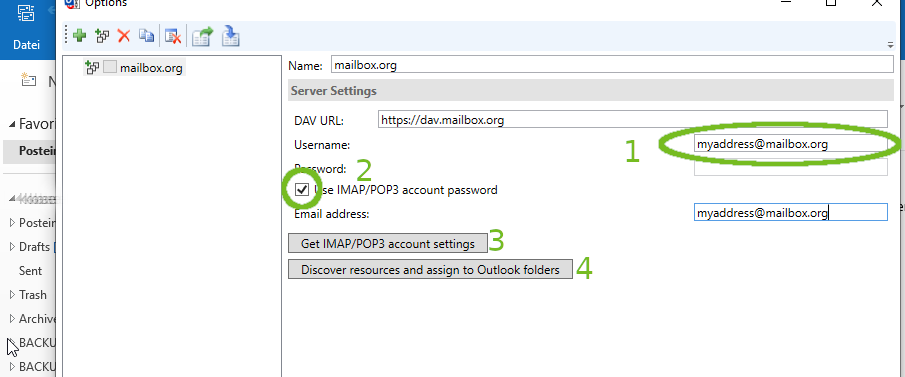
Figure 4: Enter mailbox credentials and link to Outlook folders.
- Then click on "Discover resources and assign to Outlook folders".
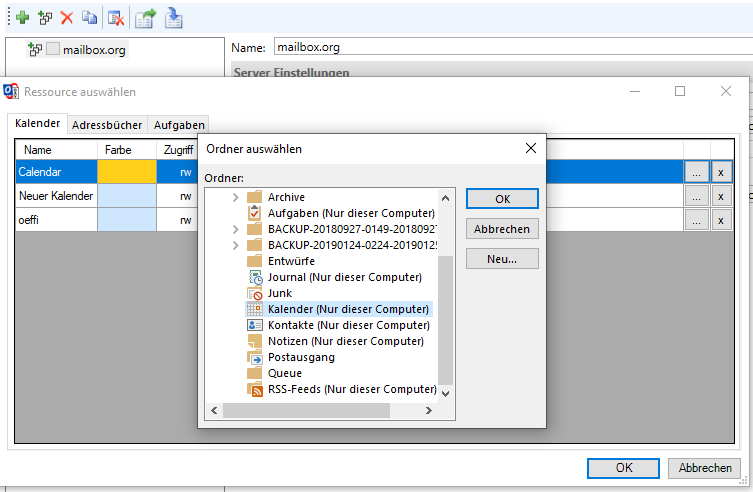
Figure 5: Use this menu to assign permissions to the imported folders.
Now follow these three steps for each tab (Plans, Address Books, Tasks):
- Click the three-dot icon next to the resource.
- In the following dialog, assign it to a matching Outlook folder or create a new one.
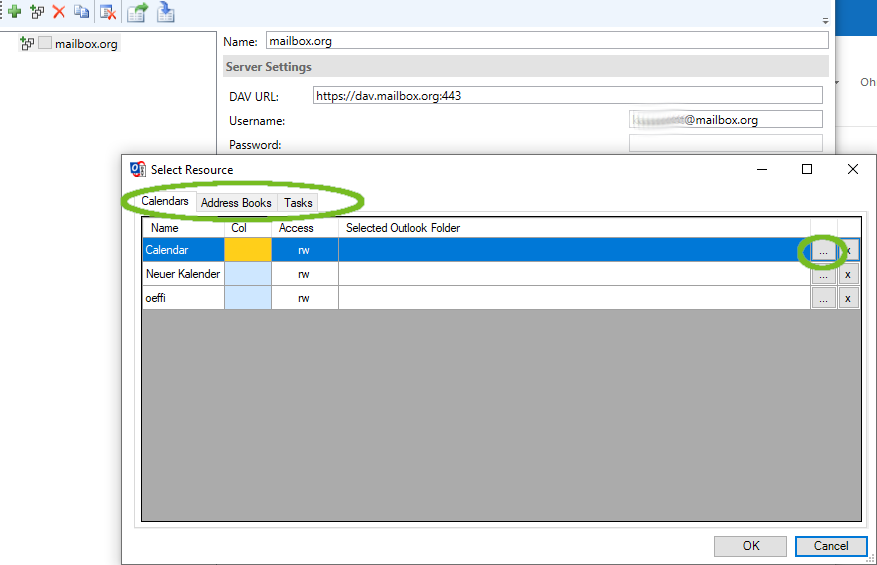
Figure 6: Select a folder for imported data. - Review all settings and save by clicking "OK".
Thunderbird
To manage your mailbox plans with Mozilla Thunderbird, use the Lightning add-on (included from Thunderbird version 38.0).
Setup Instructions
-
Select the menu item:
"File | New Calender | Plan" to connect a plan from the mailbox-Office. -
In the dialog that opens, choose "On the Network" as the calendar location.
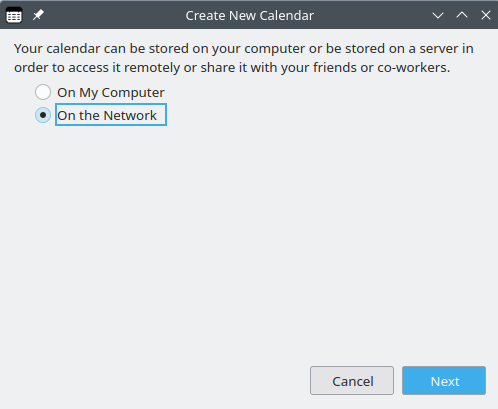
Figure 7: Thunderbird configuration. -
In the next step, select the format "CalDAV" and use the address:
https://dav.mailbox.org/caldav/XXX
Note: ReplaceXXXwith the specific alphanumeric ID of your plan (see below).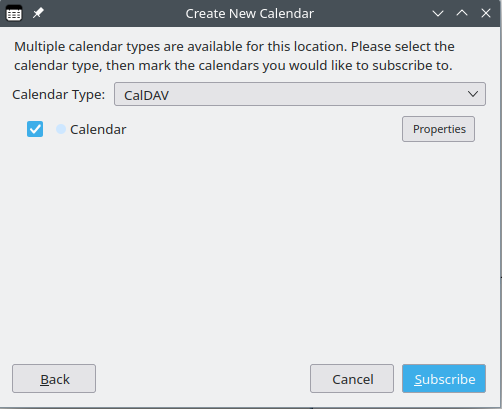
Figure 8: Thunderbird configuration.
To find the full address of your plan or task list (including the unique alphanumeric code), follow these steps:
- Open the desired plan or task list in your mailbox-Office.
- Click the icon with three horizontal lines next to the respective entry.
- Select "Properties" from the menu.
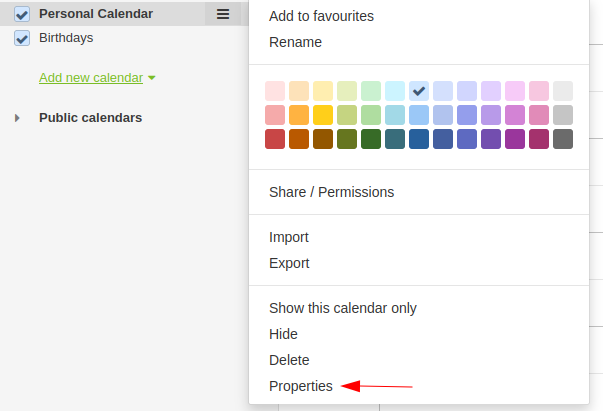
Figure 9: Calendar properties.
The full address will be shown, for example:
https://dav.mailbox.org/caldav/Y2FsFi8hMC4z
You will need this address to integrate the resource into other applications.
- In the next step, assign a name and a color to the plan for visual clarity.
- Finally, enter your mailbox email address and password.
This completes the setup.
Note: If you encounter issues with the installation described here:
Many customers are very satisfied with the TBSync add-on. This add-on also requires an additional add-on called "Provider for CalDAV & CardDAV", but it offers more synchronization options and apparently a more robust sync experience.
OPTIONAL: Using Multiple Plans in Thunderbird
Warning: The following modification is at your own risk. No support or liability is provided.
- Install Lightning Add-On – this is usually pre-installed in recent Thunderbird versions.
- Open Thunderbird Settings.
- Click on "Advanced", then go to "General" and choose "Config Editor".
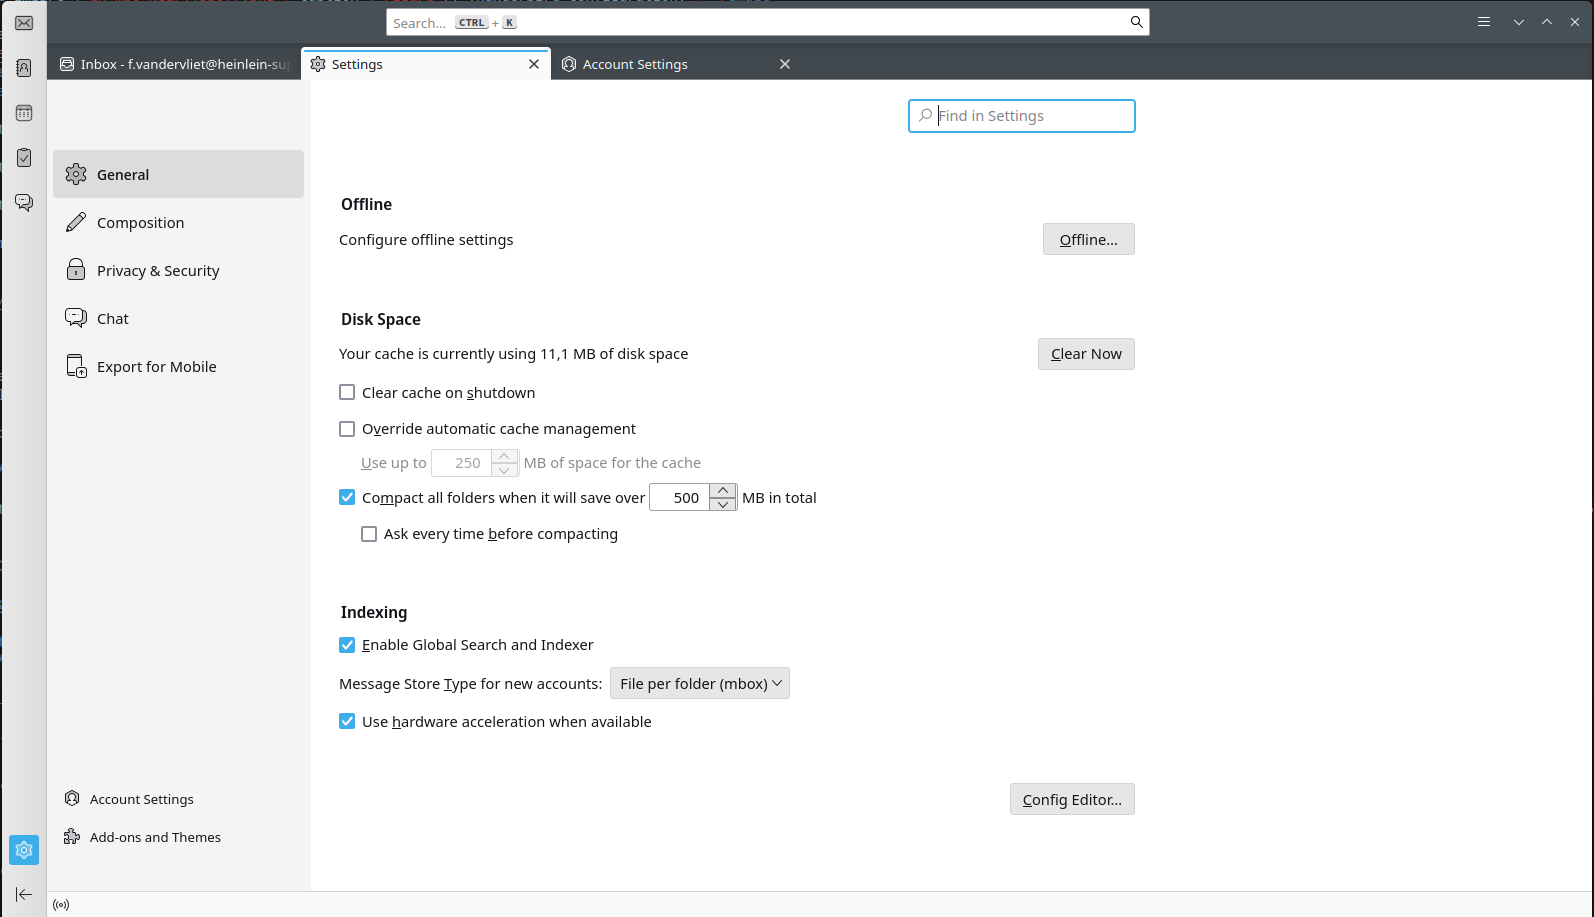
Figure 10: Thunderbird advanced settings. - Confirm the warning: "Show All"
- Search for
calendar.network.multirealm, then double-click the result and change the value fromfalsetotrue. - Restart Thunderbird.
If you experience issues with this method, many users report good results using the TBSync add-on, which requires an additional plugin:
"Provider for CalDAV & CardDAV". It offers more synchronization options and generally more robust performance.
