Create a Poll with Polls
Create and share surveys with Framadate
Create and share classic surveys with Framadate.
Figure 1: Enter the details of your survey and use optional settings for more control.
Survey details and additional settings
In the first step, enter your name, your mail address, the title of the survey, and optionally a description.
Below the input fields you will find additional optional settings (Figure 1). Here you can
- limit the number of votes per option,
- customize the link if required,
- protect access to the survey with a password,
- adjust the permissions for subsequent changes,
- configure the interval for notifications of new votes and comments,
- and restrict access to the survey results to the author.
Confirm your entries with the button Proceed to step 2.
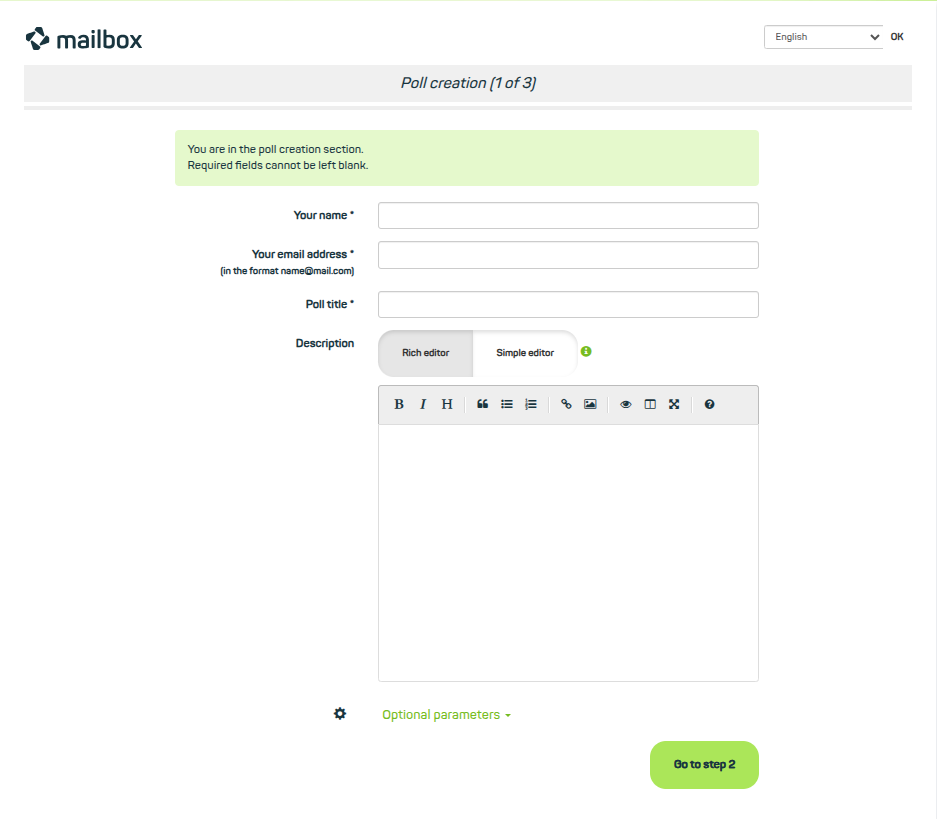
Figure 2: Enter the titles of the options.
Specifying the options
In the second step, add the titles of the options you want to make available for the vote, and again confirm your entries with a click on Proceed (Figure 3).
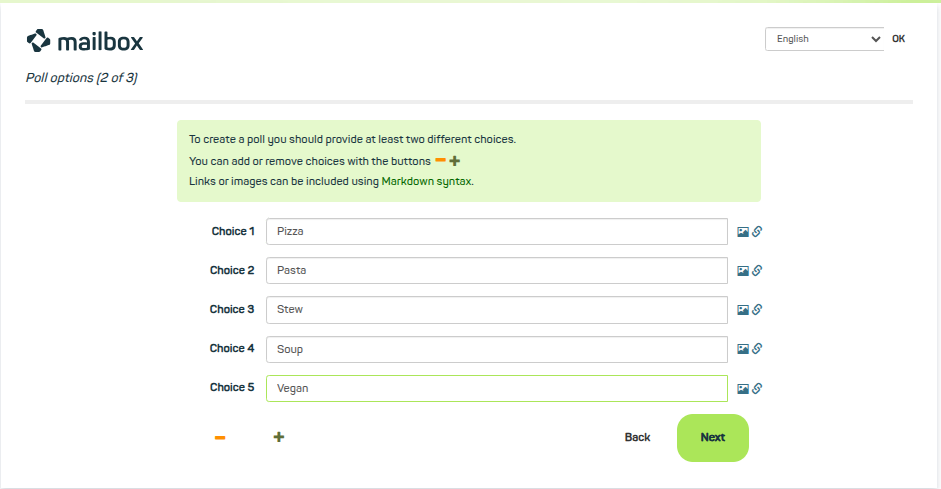
Figure 3: Review your entries and set the date for archiving the survey.
Voting period and publication
In the final configuration step, you will see a list of the options and can set the voting period – and thus define the archive date. Afterwards you can create the survey (Figure 4).
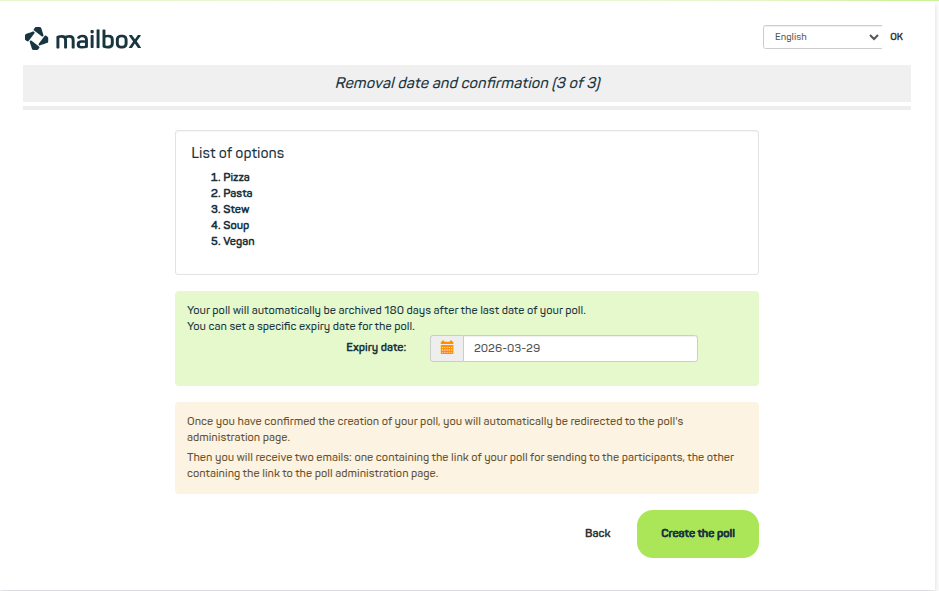
Figure 4: The administration page. Adjust settings afterwards, share survey links, and participate yourself.
Share, export, and edit the survey afterwards
The survey will now be published, and you will get access to the administration page. Here you can also change settings afterwards and view the submitted votes. If you want to share the survey, you can choose between these two options (Figure 4):
- Share the link to the administration page of the survey. Please note that this link also grants access to the survey settings. Only share this link if you want to allow others to manage the survey.
- Share the public link to the survey to enable others to participate.
On the administration page you also have the option to export the survey results as a print version or a CSV file. You can also delete the survey if needed. Of course, you can also cast your own vote, participate in the poll, or leave a comment here (Figure 5).
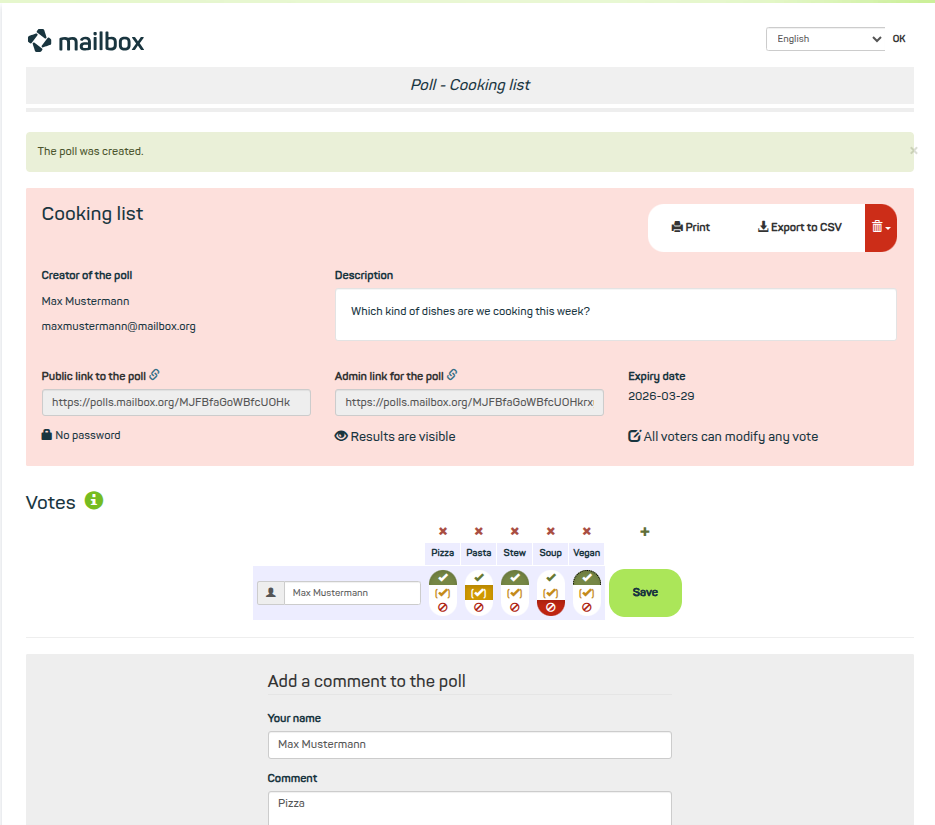
Figure 5: How to participate in the survey.
Survey and evaluation
Participation in the survey
Participation in the survey is simple and straightforward. Enter your name in the free field and select the parameters that apply to you from the proposed options. Here you can choose between:
- Vote Yes
- Vote Yes, with reservations
- Vote No
Participation in the survey and the publication of your selection is completed by clicking save (Figure 5).
As the administrator of the survey, you will receive – depending on your configuration – a mail for each successful participation in the poll.
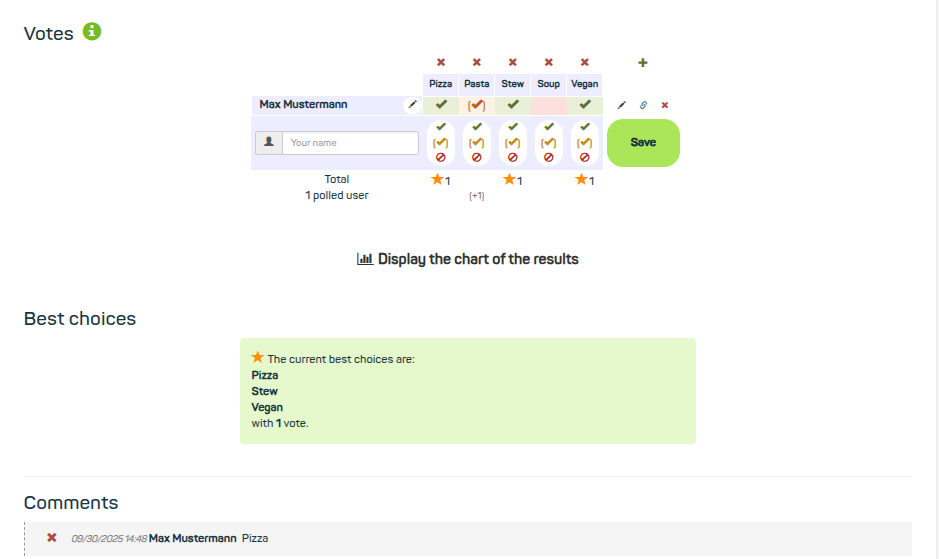
Figure 6: The results of the survey are presented in different ways.
Evaluation of the survey
The results of the survey are displayed either directly in the participation area or below in a chart as a diagram. The best option is finally summarized in a text field, showing the date and the number of votes cast. As the administrator of the survey, you will – depending on your configuration – also receive a mail notification for each successful participation (Figure 6).
